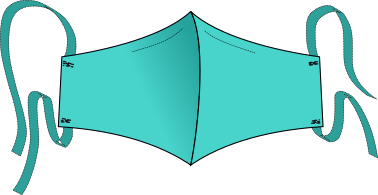
Make a cloth mask!
I made this instruction set for myself, because the photos and videos I've seen were difficult to follow. So I made a set of instructions that would be easier to understand.This is based on the "Olson Mask" pattern by Unity Point Health.
Speed method
Check out the pleated mask instruction set if you prefer that style.
#masks4all
Directions:
-
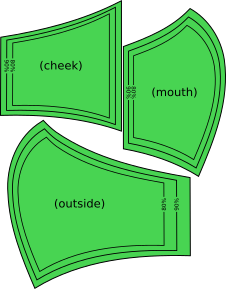
- Print and cut out pattern. (Download PDF)
- Pick your size as desired. The "80%" size is kid-size.
- Trace the patterns onto the fabric and cut out.
-
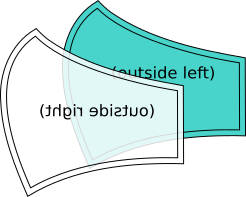
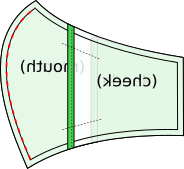
Lay the two "outside" pieces face to face.
(patterend sides should be facing each other)
-
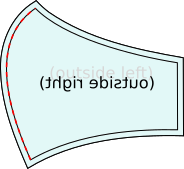
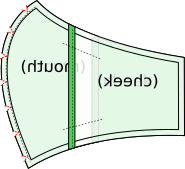
Stitch along curved section, then snip out triangles along curved section
-
Snip out triangles along the curved sections
Cutting out the triangles will allow the curve to invert without causing the seam allowance to bunch together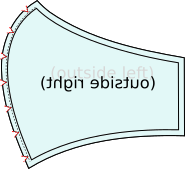
- Secure loose edges
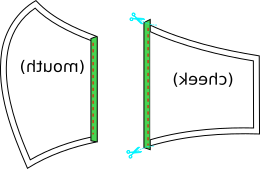
- Fold and press about 0.75 cm (~1/4 inch) of cloth on the back of the mouth part and front of cheek part.
- Fold should be on the "wrong side" of the fabric.
- Stitch the hem on back of mouth part
- Stitch the hem on front of cheek part
-
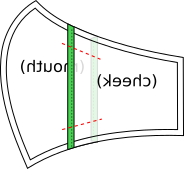
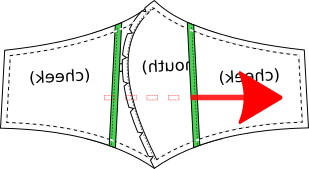
Align the cheek and mouth pieces and put temporary stitches (with a long stitch length) to hold the pieces together. You could also pin or clamp them.
-
Lay this mouth/cheek piece over the "inside right" piece.
(patterend sides should be facing each other: "face to face" or "right side to right side" or whatever)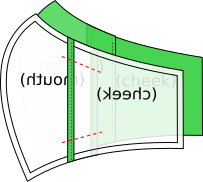
-
Stitch along the curved section.
-
Snip out triangles along the curved sections
-
Open the two stitched pieces. Optionally press the fabric along the curved seam.
Lay them on top of each other with the patterned faces together.
("face to face" or "right side to right side" or whatever)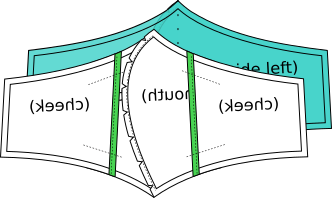
-
Stitch the two layers together around the entire border.
If you placed the temporary stitches, you can remove them now.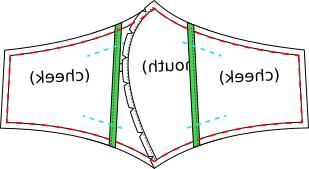
-
Flip the mask right side out
- Pull out the fabric through the opening.
- Use a pen or other long pointy thing to fully pop out the corners.
- Press each side flat
-
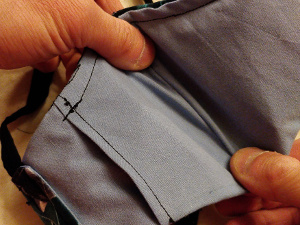
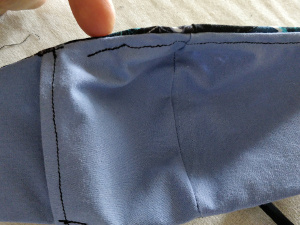
Stitch the nose wire tunnel. Probably should be about 0.75 cm (~1/4 inch) wide.
UPDATE: I recommend leaving the very middle of the nose wire tunnel un-stitched. The extra fabric bunched inside the seam can sometimes obstruct the passage.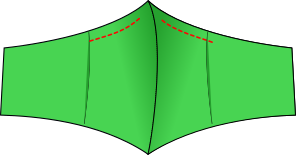 I prefer to leave the wire tunnel open so that the wire can be removed for washing, or replacement if necessary.
- Attach straps
Use twill tape 3/8 inch wide, Cut 4 strands of twill tape, approx 35-40 cm
If you don't have twill tape you could probably use any string-like thing (ribbon, shoelace, bias tape, paracord). However it would be best to use cotton material for ease of washing and sterilization. (Nylon or other plastic material may melt in a heat-sterilization method.) Cotton also tends to slip less than nylon/polyblend.
If you don't have any of the above you can make straps out of fabric.
Stich onto the corners of the mask.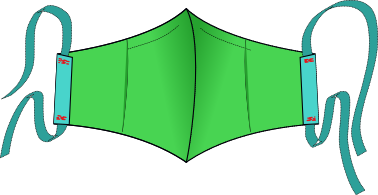
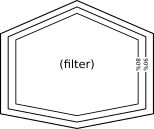
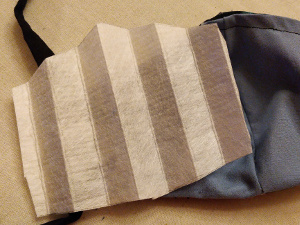
Insert a filter (optional)
Filter material can be obtained from HVAC air filters, vacuum bags, or surgical sterile equipment wrap (Serfinity Medical, USA Medical & Surgical).If using 3M air filters, get ones with at least 1500 MPR rating (source).
Air filter material can also be purchased in bulk from Filti.
Some sources recommend using two layers of filter material for increased protection. That's up to you. I think the pores in the fabric and gaps between the mask and your face would negate any increased benefit of adding more layers of filter material.
- Cut out a piece of filter material of the approximate filter shape/size in the pattern.
- Fold the filter material so that there is about 1cm margin on the bottom part.
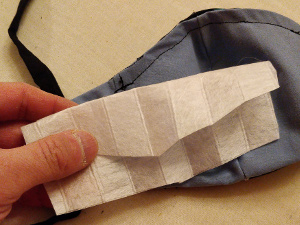
- Insert through the opening.
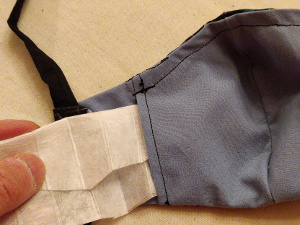
- Grasp the bottom part of the mask and pinch the bottom edge of the filter.
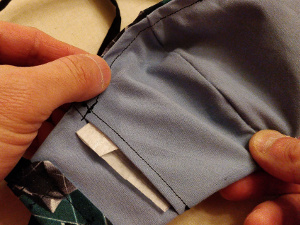
- Expand the filter inside the mask pocket, making sure to open it up completely.
Add a nose wire (optional)
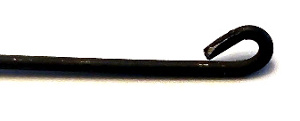
The nose section is an important part of the mask. Without a proper fit around the bridge of your nose, there will be a large air gap between the mask and the maxilla.Floral wire seems to be a common choice on other sewing instructions. I didn't have floral wire so I used a paperclip. You could also use section of wire from a spiral bound notebook.
If using a paperclip or other less durable metal, I would recommend annealing the metal to make it more ductile. Most paperclips will break if it gets bent back and forth too many times. Annealing helps make the metal softer and increase its durability against repeated bending. You'll need a flame source such as a lighter, gas stove, or blowtorch.
- (optional) Anneal the wire to strengthen it.
- Heat the paperclip/wire until it just barely starts to glow a dull orange. (This may be easiest to see in the dark.)
- If it is heated until it glows bright orange, that's too hot and the metal may become brittle instead of ductile.)
- Let it cool slowly.
- Bend the ends of the wire into loops to prevent the ends from poking through the fabric.
- Insert wire into the nose wire tunnel.
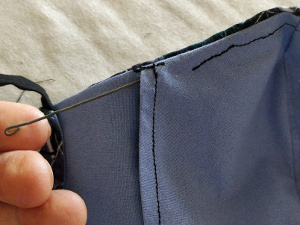
- Feed it all the way until the close end of the wire moves past the inner flap of the opening.
- Push the wire back under the inner flap to keep it from slipping out.
