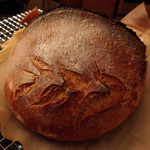
Sourdough Bread
Ingredients
Sourdough bread is made with just 3 ingredients: flour, water, salt. You could consider the sourdough starter as a separate ingredient, but the starter itself consists of only flour and water.Sourdough is a living food, and as with all lifeforms it behaves differently depending on environmental factors. Water content, humidity, temperature, time will all affect how sourdough behaves. Because of this variability, sourdough recipes are not set in stone. That said, below is the "recipe" I use.
Listed using baker's percentages
- Flour (100%)
- I use unbleached bread flour and whole wheat flour, at approximately 20-40% whole wheat content.
- How much whole wheat can you add?
- Water 70%
- Sourdough Starter 20%
- Make your own Sourdogh starter
- Read about starter innoculation - You may not need much at all
- Salt 2%
My current experiment
This method is based on Foodgeek's Master Sourdough Recipe, similar to this "Slow Lazy" method from Breadtopia, except with a shorter autolyse.Summary:
- Feed sourdough starter
- Let it grow 6-12 hours or until it looks vigorously active
- Mix flour, salt, water, starter.
- Autolyse 1 hour
- Stretch & fold; Rest 30 minutes
- Stretch & fold; Rest 30 minutes
- Stretch & fold
- (Window pane test)
- Bulk rise
- (Divide into desired portions if necessary)
- Shape it
- (Refrigerate 8-48 hours)
- Bake!
Start
- Combine flour and salt, whisk or stir until mostly even.
- Optional step: Mix the measured amount of starter into the measured amount of water until starter is dissolved
- Mix the wet and dry ingredients together until you have a shaggy mess of dough that is more or less even (ie - all the dry flour is mixed in).
- Cover and rest at a proofing temperature to autolyse for 1-2 hours.
- If your oven has a "proofing" setting, use that.
- If you live in a cold climate and don't have a fancy oven, you can turn on the oven light which should generate enough heat to keep it warm. For best results, the "ambient" temperature around your container should be 21-25°C (69-77°F)
Stretch & fold
- Stretch & fold the dough (don't knead) in order not to break the gluten sturcture.
- Wet your hands to prevent dough from sticking to your hands.
- Foodgeek has a comparison of dough mixing methods
- Cover and rest the dough for 15-30 min at your proofing temperature.
- Repeat the stretch & fold cycles 2-3 times.
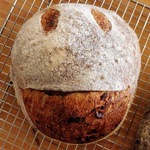
- Fold in any inclusions you want during the last stretch & fold.
Bulk rise
- Place your dough into an airtight bulking container. I use a large rectangular Rubbermaid container. If you don't have something like this you can probably just cover your mixing bowl with a non-porous wrap.
- Let it rest at the proofing temperature until the dough rises 25-50% (ie becomes 125-150% of its original size). This may take 1-2 hours.
Shape & Proof
- Lightly dust your counter with flour, and keep your hands dry.
- Carefully dump out the dough.
- If making more than one loaf, divide your dough as needed.
- Shape your loaf
- Dust your banneton with rice flour, and transfer your shaped dough loaf into it, "top side" down.
- Rice flour contains no gluten so it serves as a non-stick barrier between the dough and your container. If you don't have rice flour, just use your regular flour.
- If you don't have a banneton, line a bowl with cloth. Knit cloth (like a clean piece of old T-shirt) tends to work better than a dish towel.
- Optional step: Place this in a plastic bag or another moisture-retaining container, and refrigerator for 8-48 hours
(One hour before baking)
- Place a dutch oven inside your oven and preheat to 500F
- Continue to heat the dutch oven for 45-60 min once your oven gets up to temperature
Baking time!
- Place your loaf on a piece of baking parchment paper (optional)
- Dust the top of the loaf with rice flour.
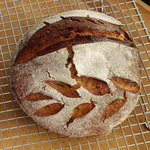
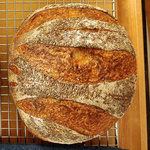
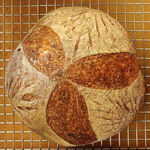
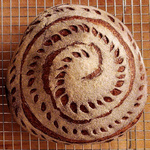
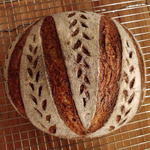
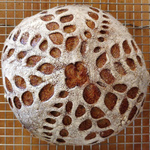
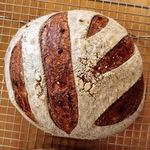
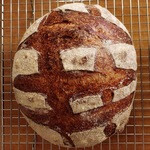
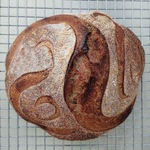
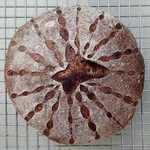
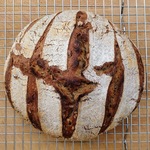
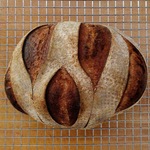
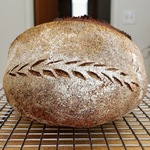
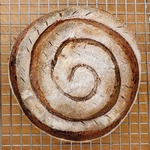
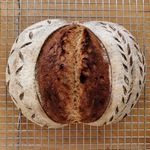
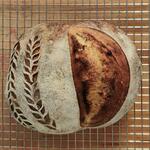
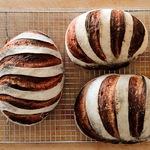
- Score the loaf in some way.
- Scoring the surface allows for a controlled rise.
- If you don't score your loaf the bread will "rise" through weak spots in the crust so you might end up with a weird explode-y looking result.
- Place your loaf in the dutch oven and cover.
- I prefer to use the dutch oven upside-down so that the loaf goes into the "top" part and gets covered with the "pot" part.
- I found that placing the loaf into the pot side resulted in a burned bottom due to more heat transfer from the more massive piece of cast iron.
- Lower the oven temp to 450F and bake for 20 minutes
- Remove the dutch oven cover and continue baking uncovered for 20-30 min
If using a baking stone
- Preheat oven to 500F with stone in place
- Prepare the oven by generating steam
- Lightly dust your bread/pizza peel (or some other platform to transfer the loaf into the oven) and place your loaf onto it.
- Score your loaf as above
- Place the loaf directly onto the baking stone
- After 20-25 minutes of steamed baking, remove the steam generator (water pan, etc) from the oven.
- Lower the temperature to 450F bake for 20 more minutes.
(Done!)
Remove from the oven and place on a cooling rack.
Allow it to cool to room temperature before cutting into it.